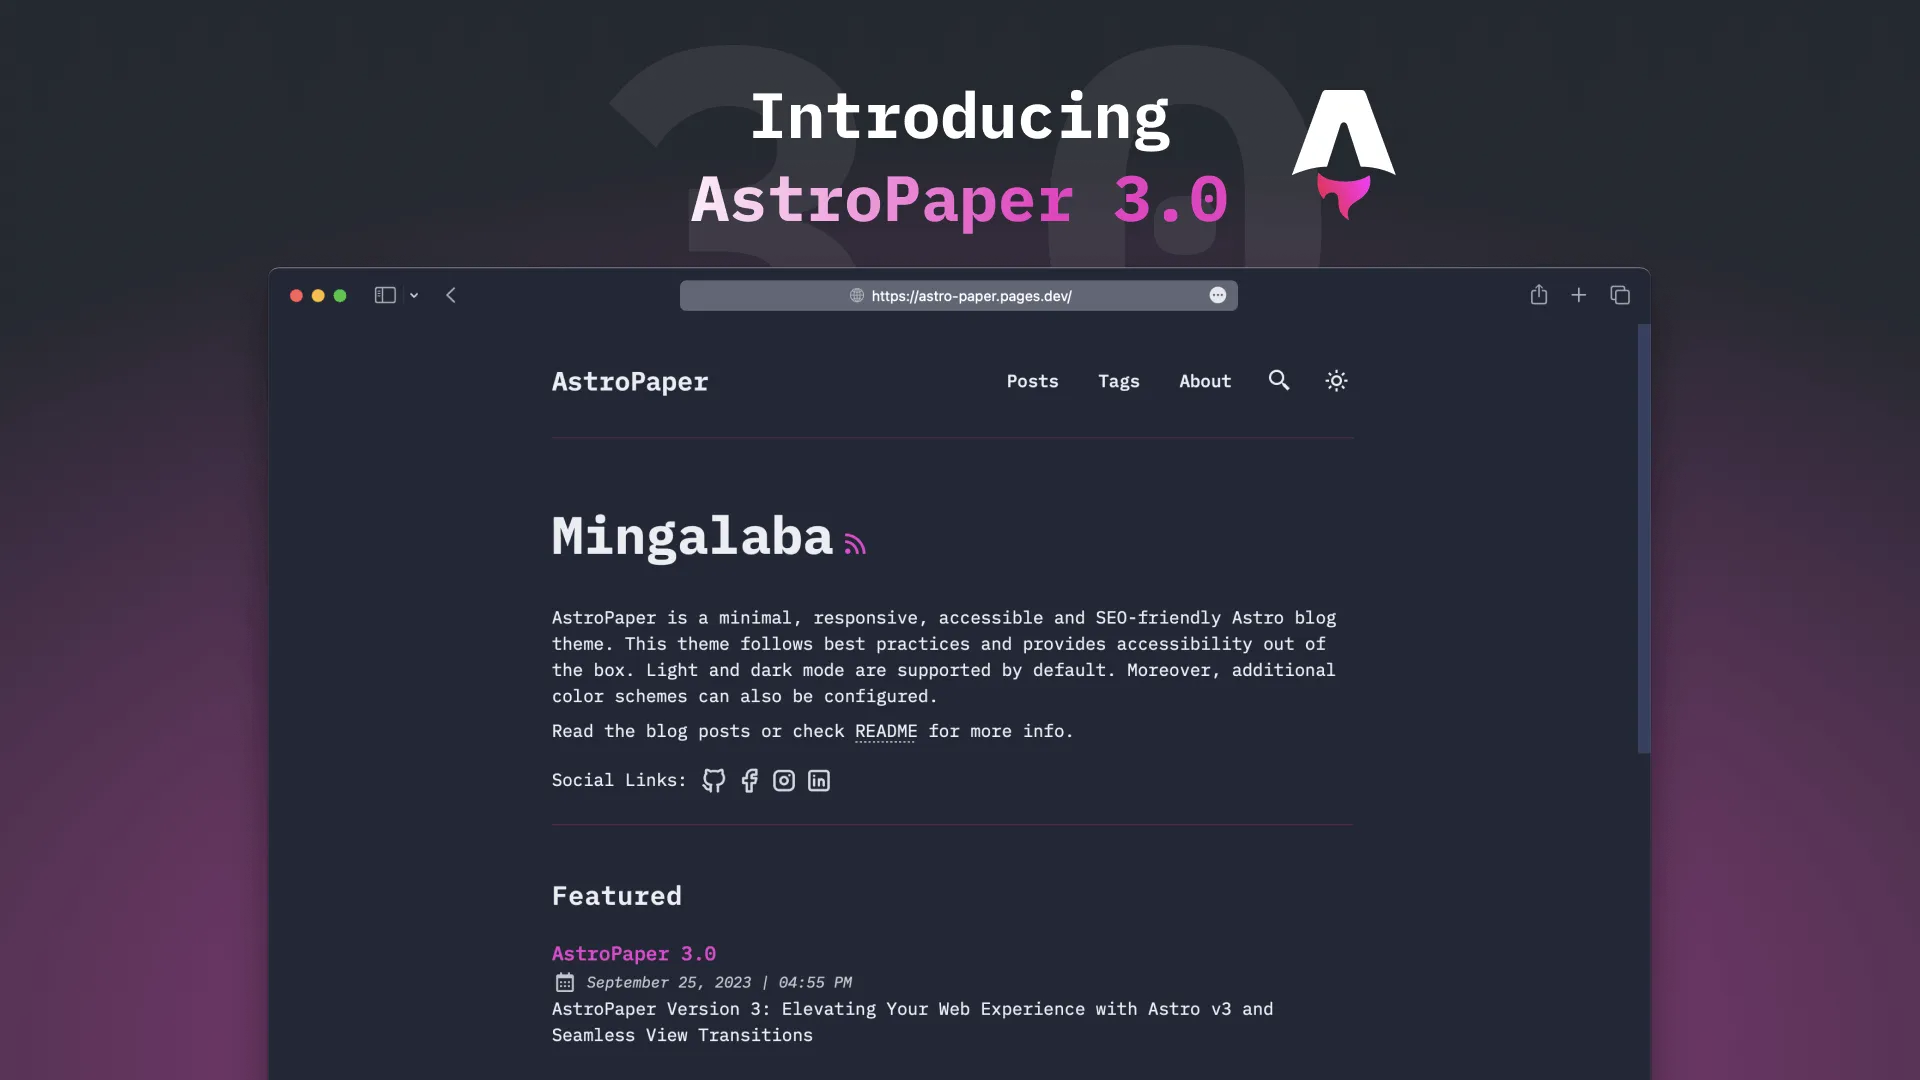
We’re excited to announce the release of AstroPaper v3, packed with new features, enhancements, and bug fixes to elevate your web development experience. Let’s dive into the highlights of this release:

Table of contents
Features & Changes
Astro v3 Integration
AstroPaper now fully supports Astro v3, offering improved performance and rendering speed.
Besides, we’ve added support for Astro’s ViewTransitions API, allowing you to create captivating and dynamic transitions between views.
In the “Recent Section”, only non-featured posts will be displayed to avoid duplications and better support for ViewTransitions API.
Update OG Image Generation Logic

We’ve updated the logic for automatic OG image generation, making it even more reliable and efficient. Besides, it now supports special characters in post titles, ensuring accurate, flexible and eye-catching social media previews.
SITE.ogImage is now optional. If it is not specified, AstroPaper will automatically generate an OG image using SITE.title, SITE.desc and SITE.website
Theme meta tag
The theme-color meta tag has been added to dynamically adapt to theme switches, ensuring a seamless user experience.
Notice the difference at the top
AstroPaper v2 theme switch
AstroPaper v3 theme switch
Other Changes
Astro Prettier Plugin
Astro Prettier Plugin is installed out-of-the-box in order to keep the project tidy and organized.
Minor Style Changes
The single-line code block wrapping issue has been solved, making your code snippets look pristine.
Update nav style CSS to allow adding more nav links to the navigation.
Upgrade to AstroPaper v3
This section is only for those who want to upgrade AstroPaper v3 from the older versions.
This section will help you migrate from AstroPaper v2 to AstroPaper v3.
Before reading the rest of the section, you might also want to check this article for upgrading dependencies and AstroPaper.
Option 1: Fresh Restart (recommended)
In this release, a lot of changes have been made_ replacing old Astro APIs with newer APIs, bug fixes, new features etc. Thus, if you are someone who didn’t make customization very much, you should follow this approach.
Step 1: Keep all your updated files
It’s important to keep all the files which have been already updated. These files include
/src/config.ts(didn’t touch in v3)/src/styles/base.css(minor changes in v3; mentioned below)/src/assets/(didn’t touch in v3)/public/assets/(didn’t touch in v3)/content/blog/(it’s your blog content directory 🤷🏻♂️)- Any other customizations you’ve made.
@layer base {  /* Other Codes */  ::-webkit-scrollbar-thumb:hover {    @apply bg-skin-card-muted;  }
  /* Old code  code {    white-space: pre;    overflow: scroll;  }  */
  /* New code */  code,  blockquote {    word-wrap: break-word;  }  pre > code {    white-space: pre;  }}
@layer components {  /* other codes */}
Step 1: Replace everything else with AstroPaper v3
In this step, replace everything_ except above files/directories (plus your customized files/directories)_ with AstroPaper v3.
Step 3: Schema Updates
Keep in mind that /src/content/_schemas.ts has been replaced with /src/content/config.ts.
Besides, there is no longer BlogFrontmatter type exported from /src/content/config.ts.
Therefore, all the BlogFrontmatter type inside files need to be updated with CollectionEntry<"blog">["data"].
For example: src/components/Card.tsx
// AstroPaper v2import type { BlogFrontmatter } from "@content/_schemas";
export interface Props {  href?: string;  frontmatter: BlogFrontmatter;  secHeading?: boolean;}
// AstroPaper v3import type { CollectionEntry } from "astro:content";
export interface Props { href?: string; frontmatter: CollectionEntry<"blog">["data"]; secHeading?: boolean;}Option 2: Upgrade using Git
This approach is not recommended for most users. You should do the “Option 1” if you can. Only do this if you know how to resolve merge conflicts and you know what you’re doing.
Actually, I’ve already written a blog post for this case and you can check out here.
Outro
Ready to explore the exciting new features and improvements in AstroPaper v3? Start using AstroPaper now.
For other bug fixes and integration updates, check out the release notes to learn more.
If you encounter any bugs or face difficulties during the upgrade process, please feel free to open an issue or start a discussion on GitHub.